How To Build A Laser
 6500 Volt Spark Gap Flashes Immediately Prior To Laser Firing
Ok, here is how to build a low cost laser using easy to obtain parts.
This is what you need and where to get it:
- High voltage DC power supply that you can make from a neon sign transformer as described here.
- Three sheets of aluminum foil – grocery store.
- Thin plastic vapor barrier sheet – hardware or flooring store.
- Aluminum right angle bar – hardware store.
- Copper wire – hardware or electronics store.
- A one watt resistor of any value between 10K and 1 meg ohm – electronic parts store.
- 1 inch long bolt – hardware store.
- Nut for above bolt – hardware store.
- Round capnut for above bolt – hardware store.
- Highlighter pen – department store.
- One sheet white paper – duh.
First, you need to cut the aluminum angle bar into several pieces using a hacksaw. The first two pieces should be about a foot long, the next two about an inch long. File down all sharp edges.
Drill a hole in one of the small pieces to put the bolt through. Construct the piece so that it looks like the righthand assembly in the above pic. This will be your spark gap.
With one of the long aluminum angle bars, cut two notches in each end. Stretch the copper wire between the two notches and fold it across them.
The wire should be very straight as shown above. The object is to make physical contact over the entire length of the aluminum bar.
When you are done you the two bars should look as above, one with the copper wire as shown. These two bars will function as the laser electrodes with the laser light being produced between them. Next, you need to construct the laser discharge capacitors. It’s pretty easy to do.
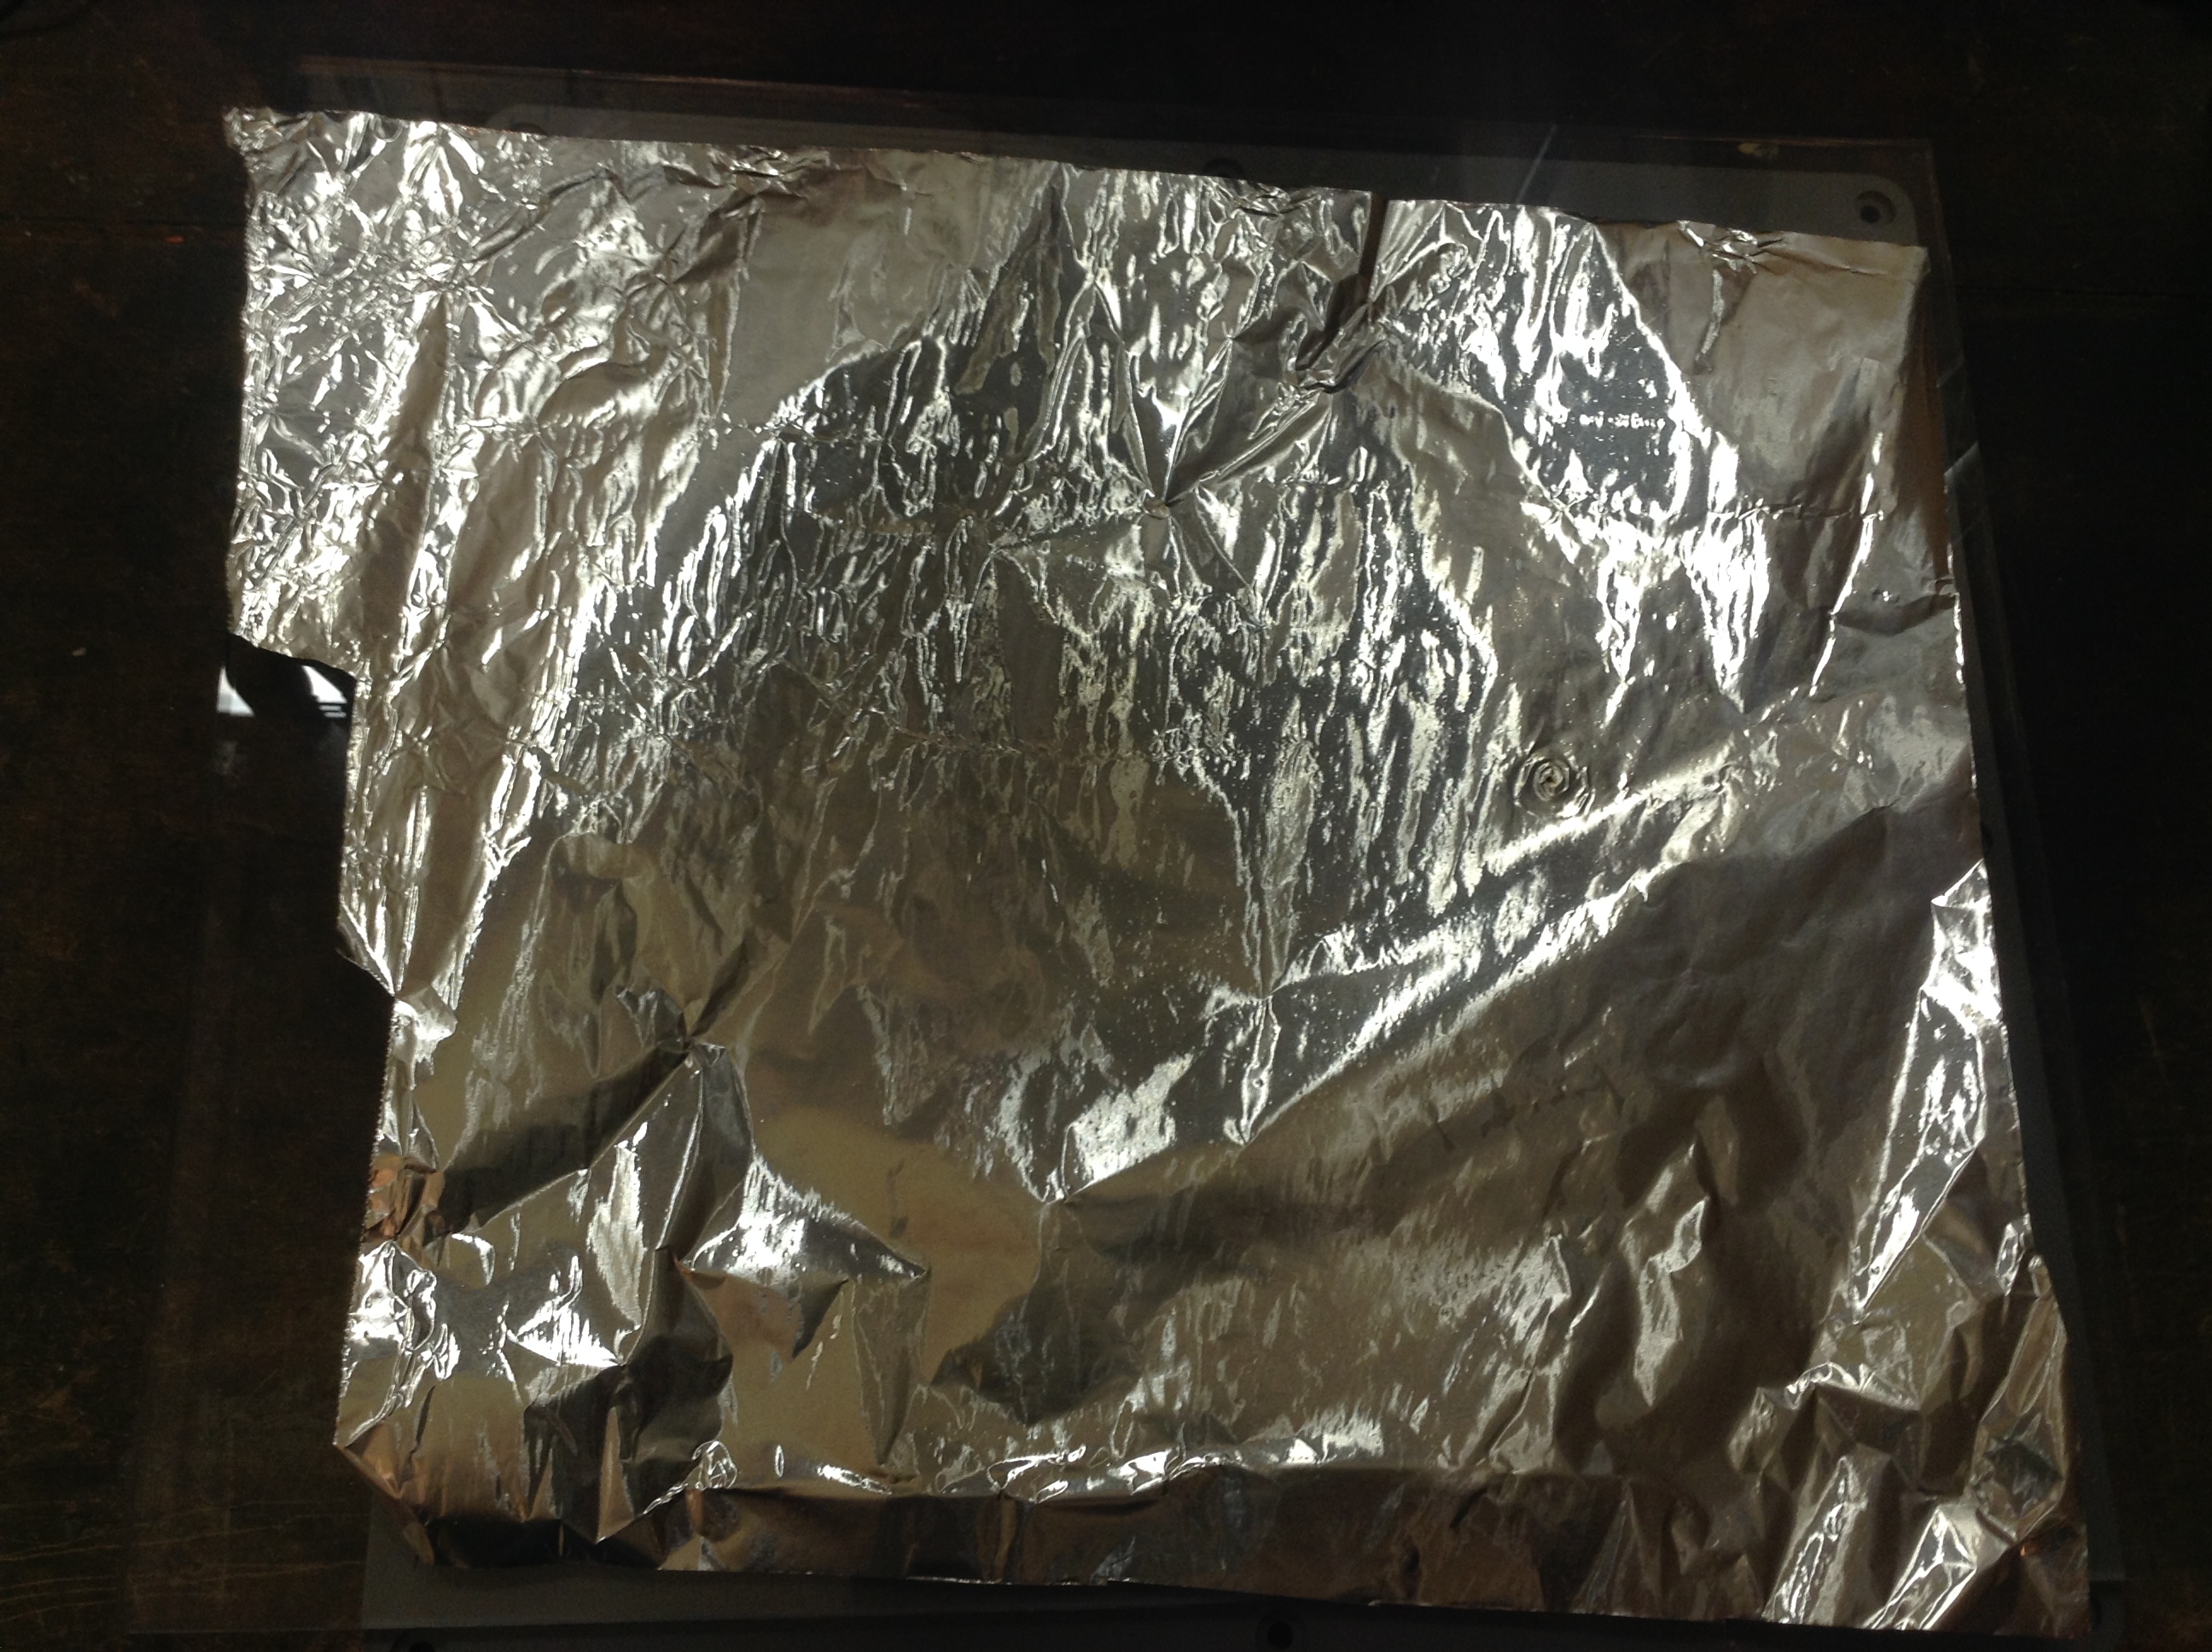
Cut out a big sheet of aluminum foil with a tab on one side as shown below. Pretty much any size will do, a good place to start is one square foot.
Next, cut a square of the thin plastic vapor barrier sheet. This sheet will lay on top of the first square aluminum foil sheet you cut. It should be the thinnest you can buy, probably around 4 mils thick. The plastic sheet should be cut so that it is about a quarter inch larger than the aluminum foil square below it on all sides except for the tab that sticks out to the left.
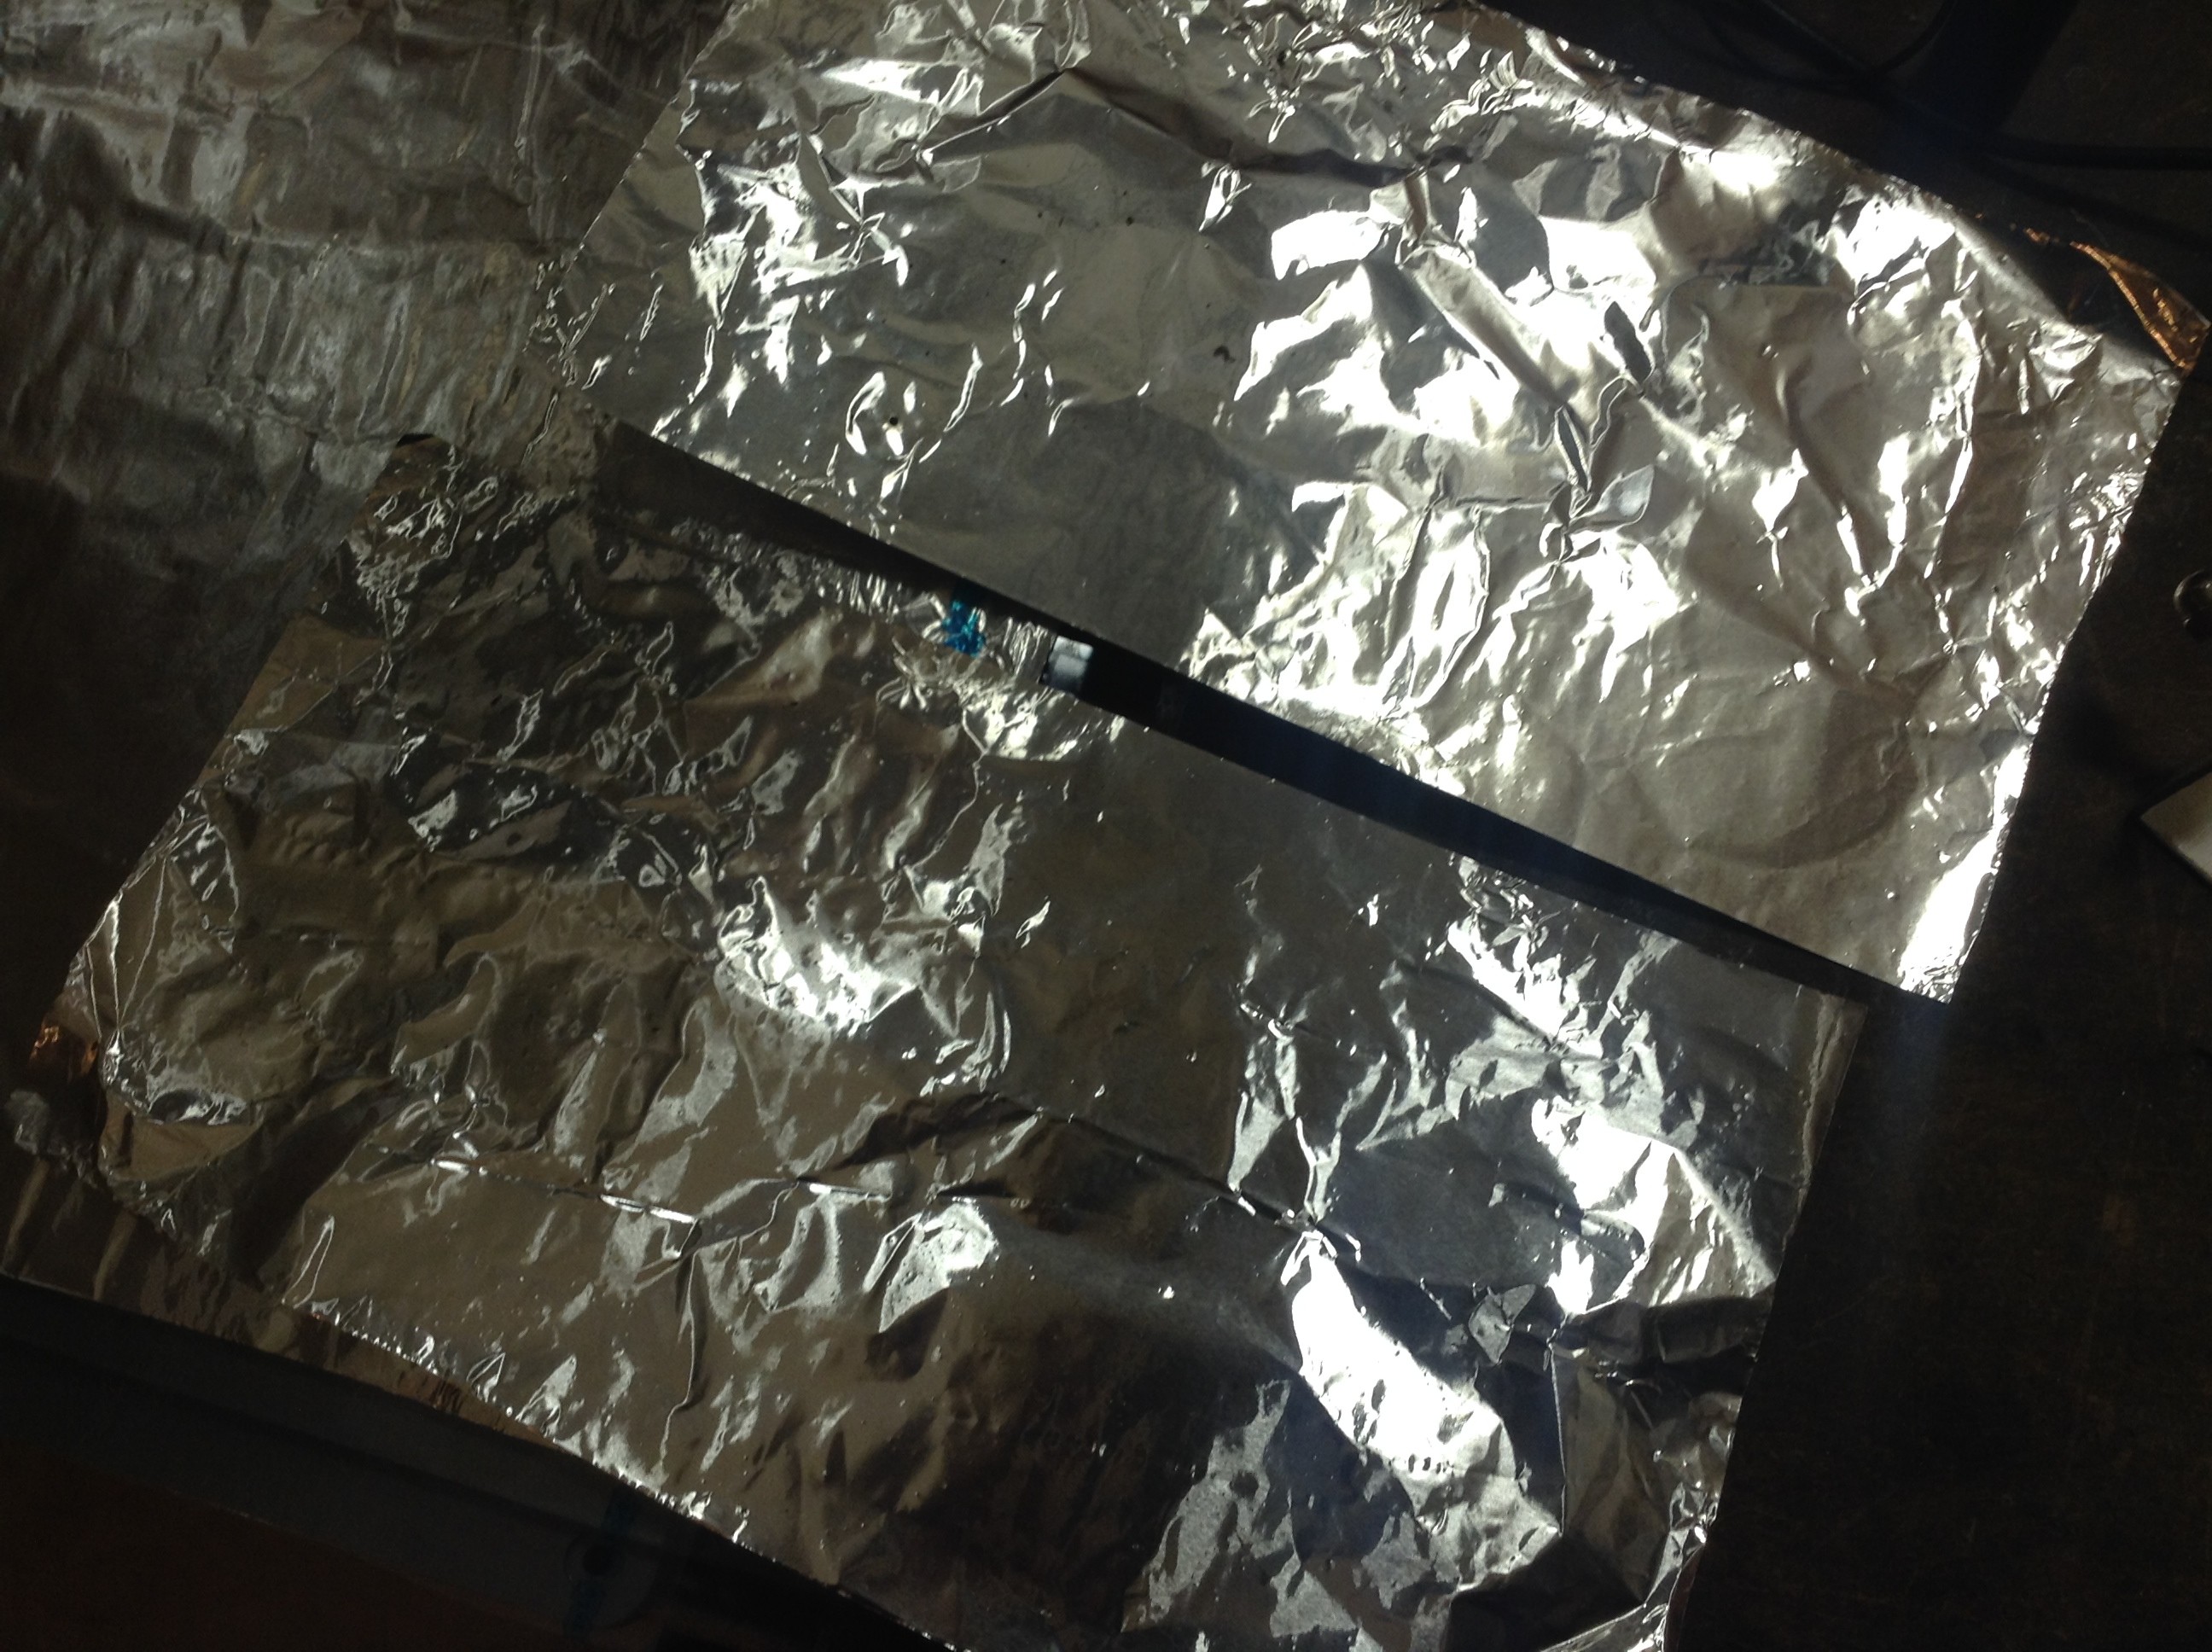
Next you cut two more aluminum foil sheets of equal size, a little less than half the width of the original sheet of foil as shown above. They will lay on top of the plastic sheet.
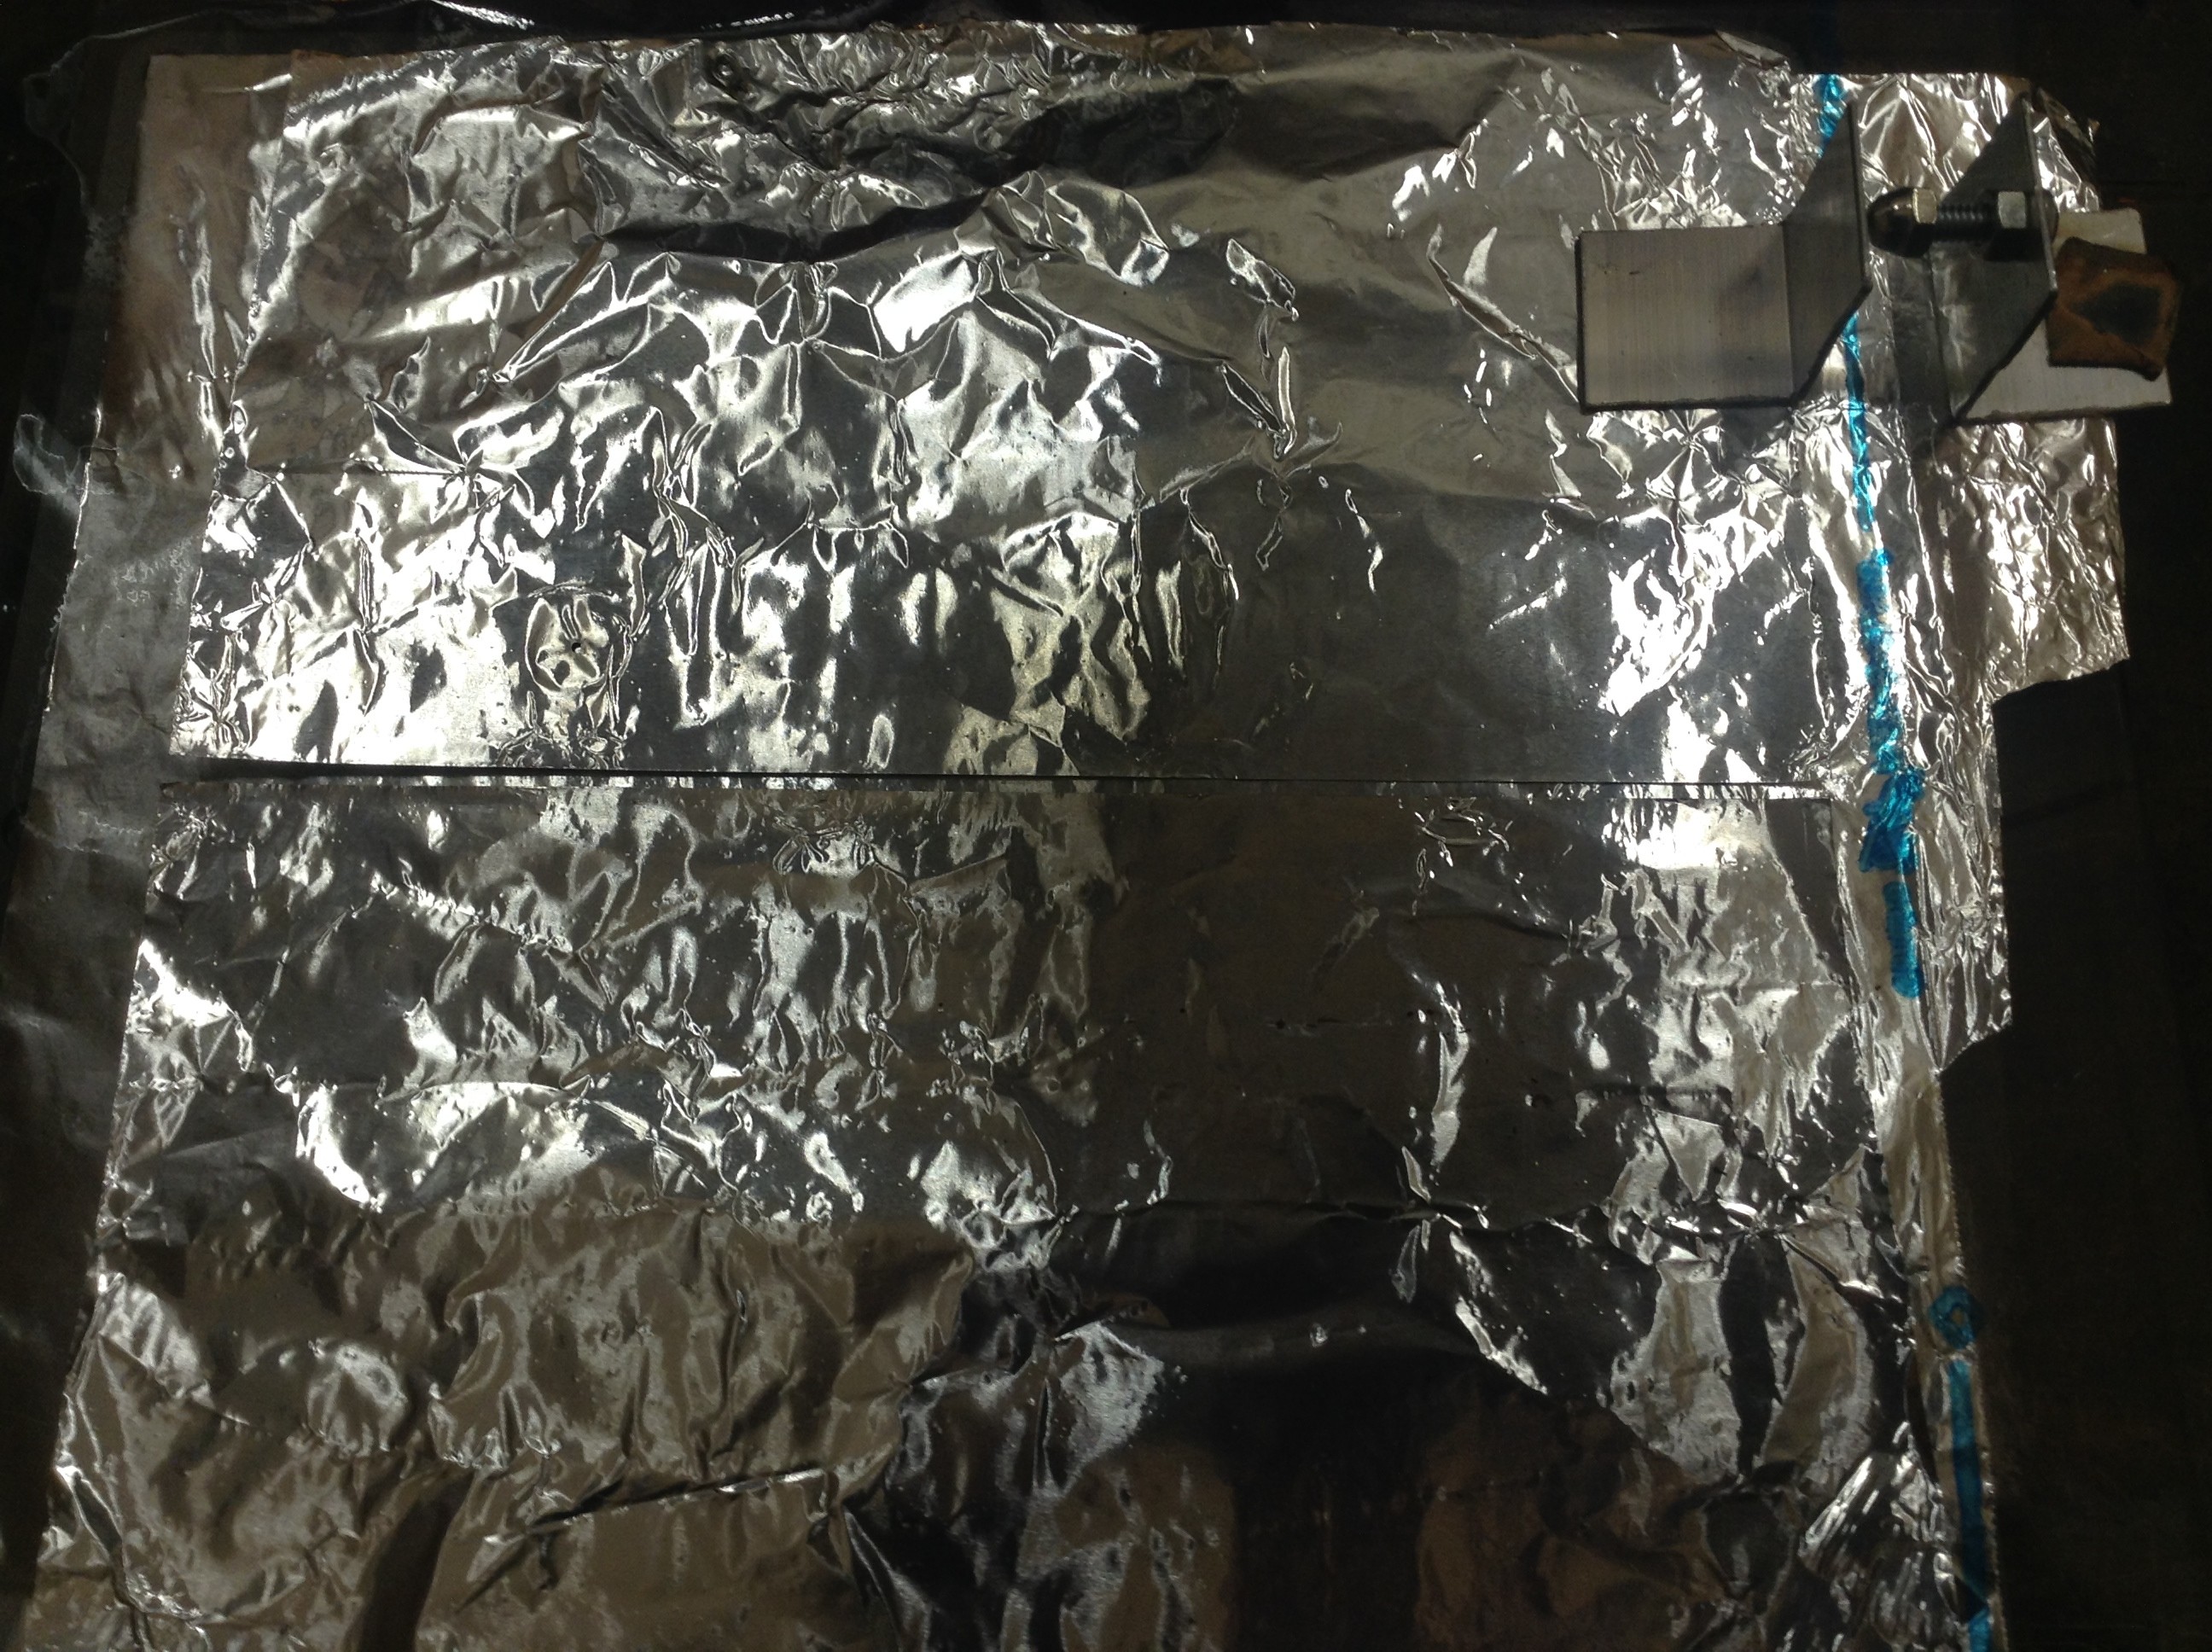
Align the two foil sheets so that they are 1/8″ apart lengthwise. The spark gap is shown in the upper righthand corner. One element of the spark gap is contacting one of the top aluminum sheets, the other end is contacting the bottom sheet where the tab protrudes from under the plastic sheet.
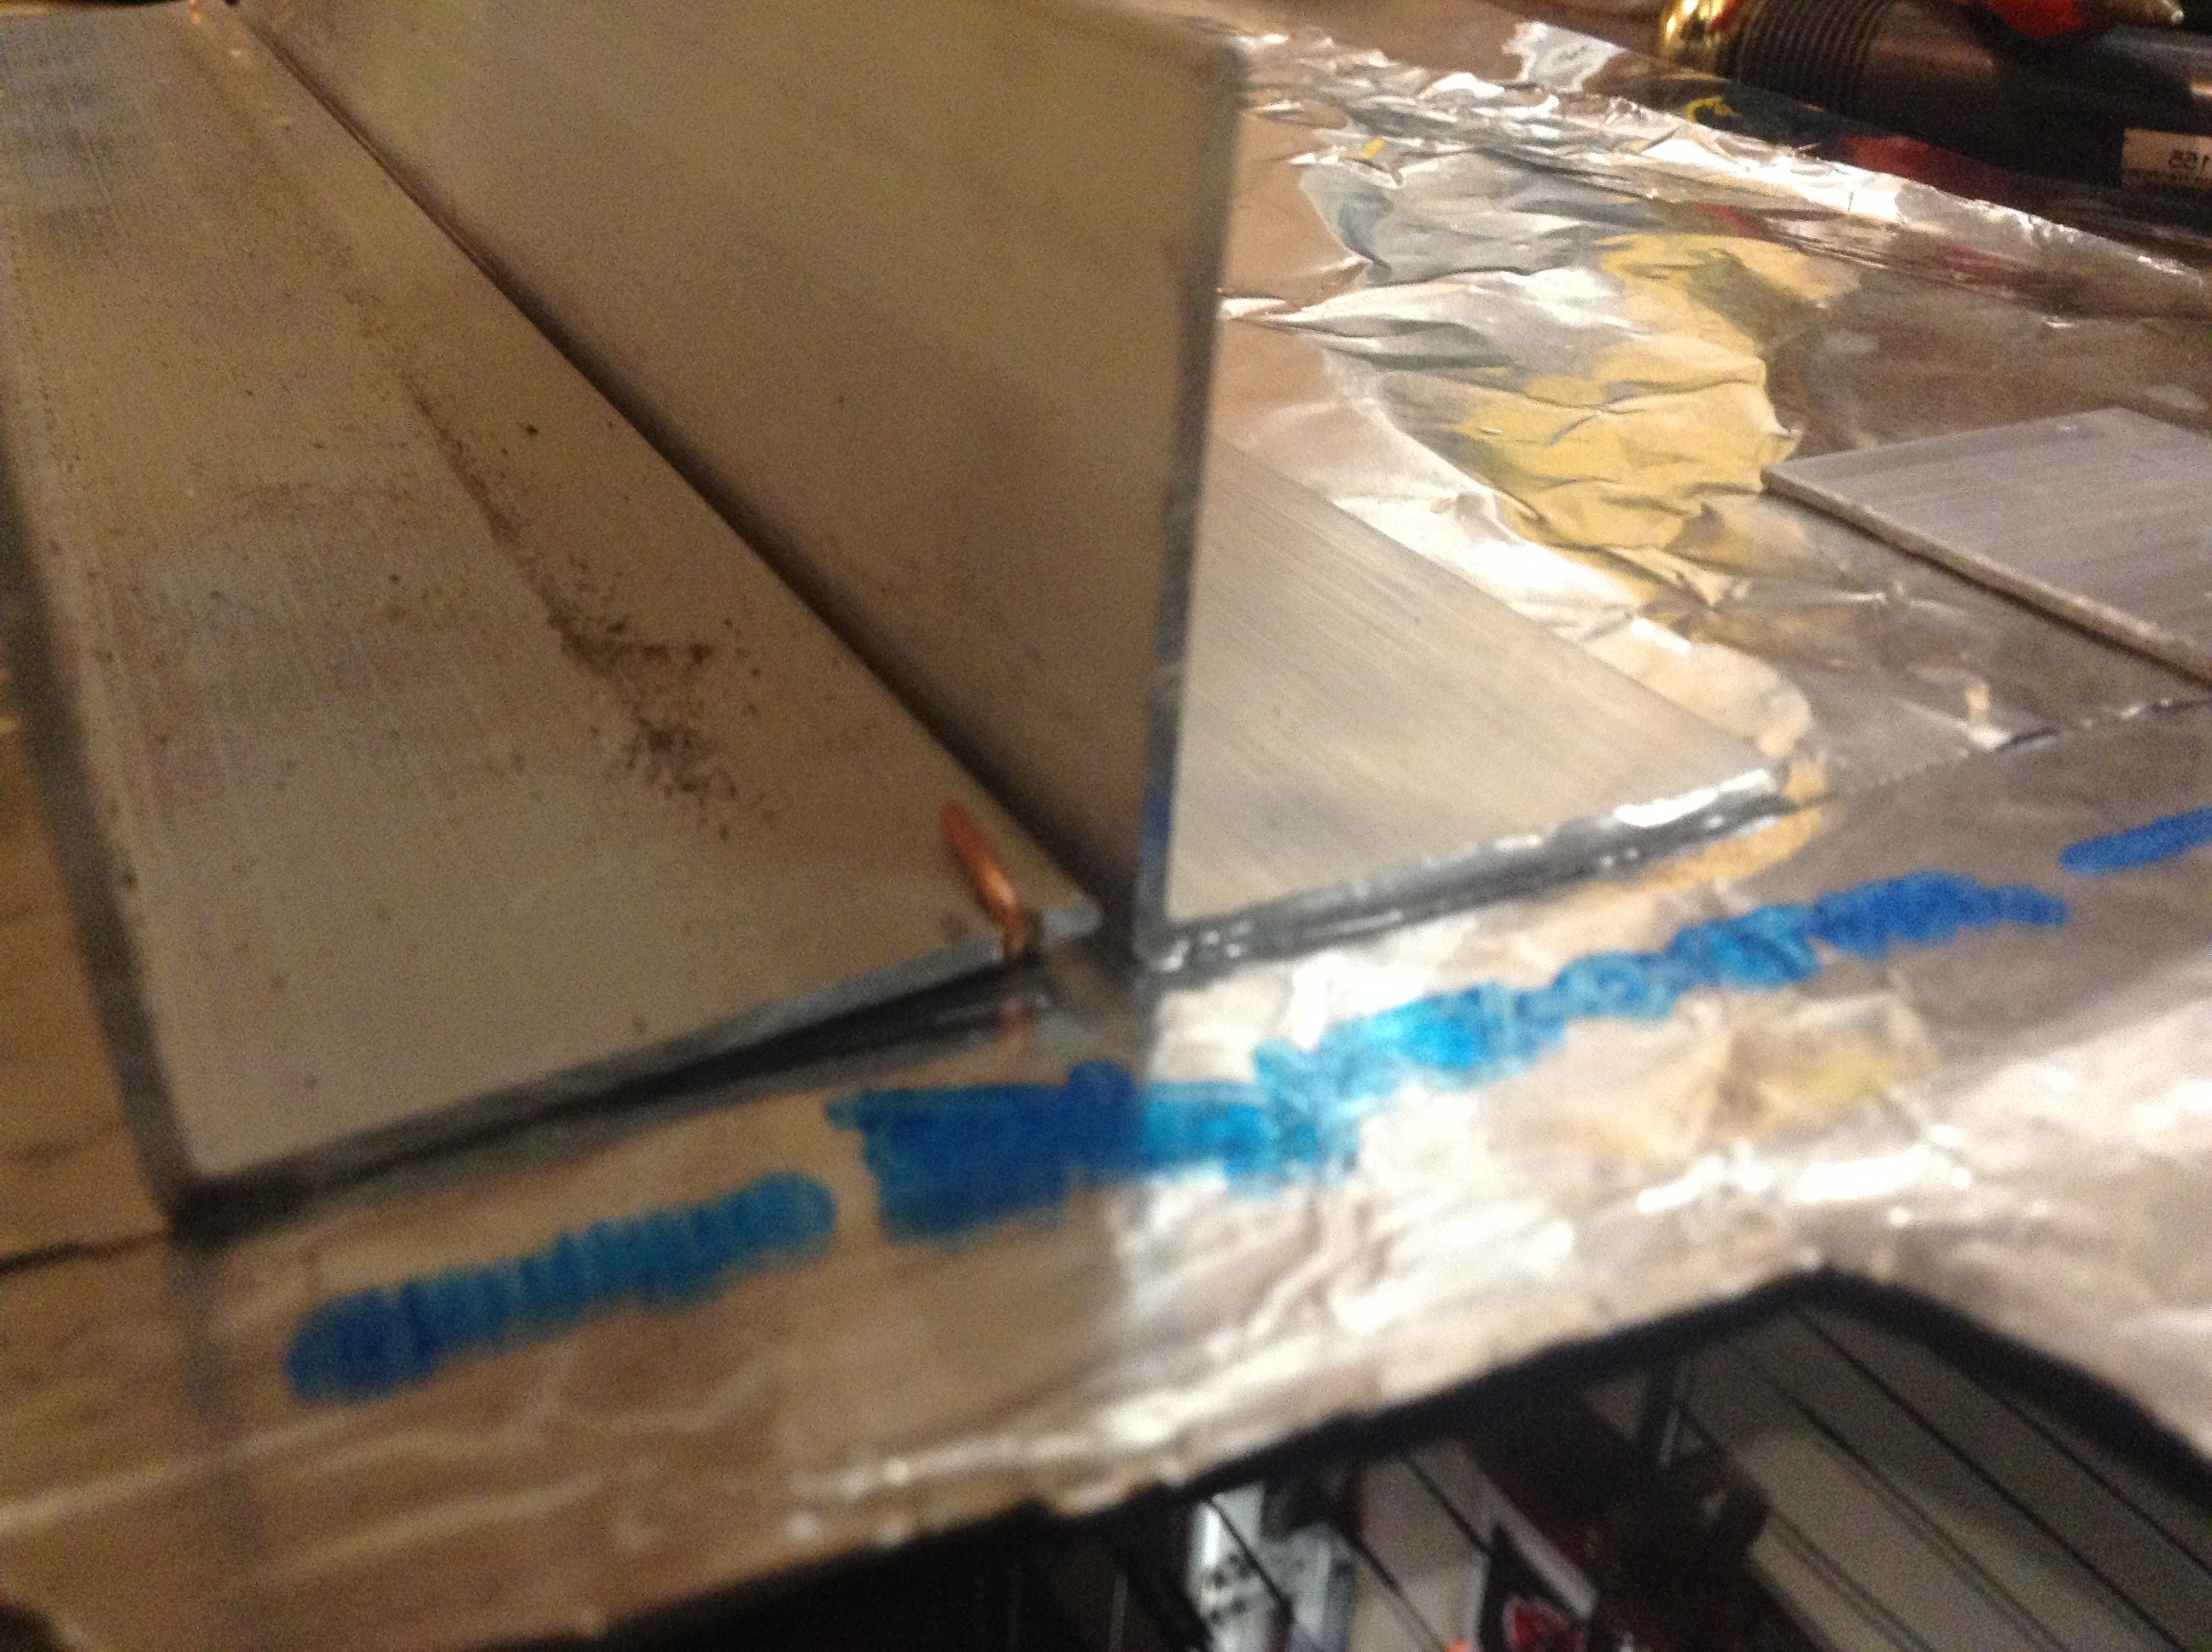
Next, you must place the two aluminum bars along the edges of the top foil sheets as shown above. Note that the copper wire must be in contact with one of the foil sheets and the other bar is simply sitting on the edge of a sheet. There should be a gap of one millimeter. This is easy to gauge, it is about the thickness of the wire on your one watt resistor. Make sure the gap between the bars is as consistent along the length.
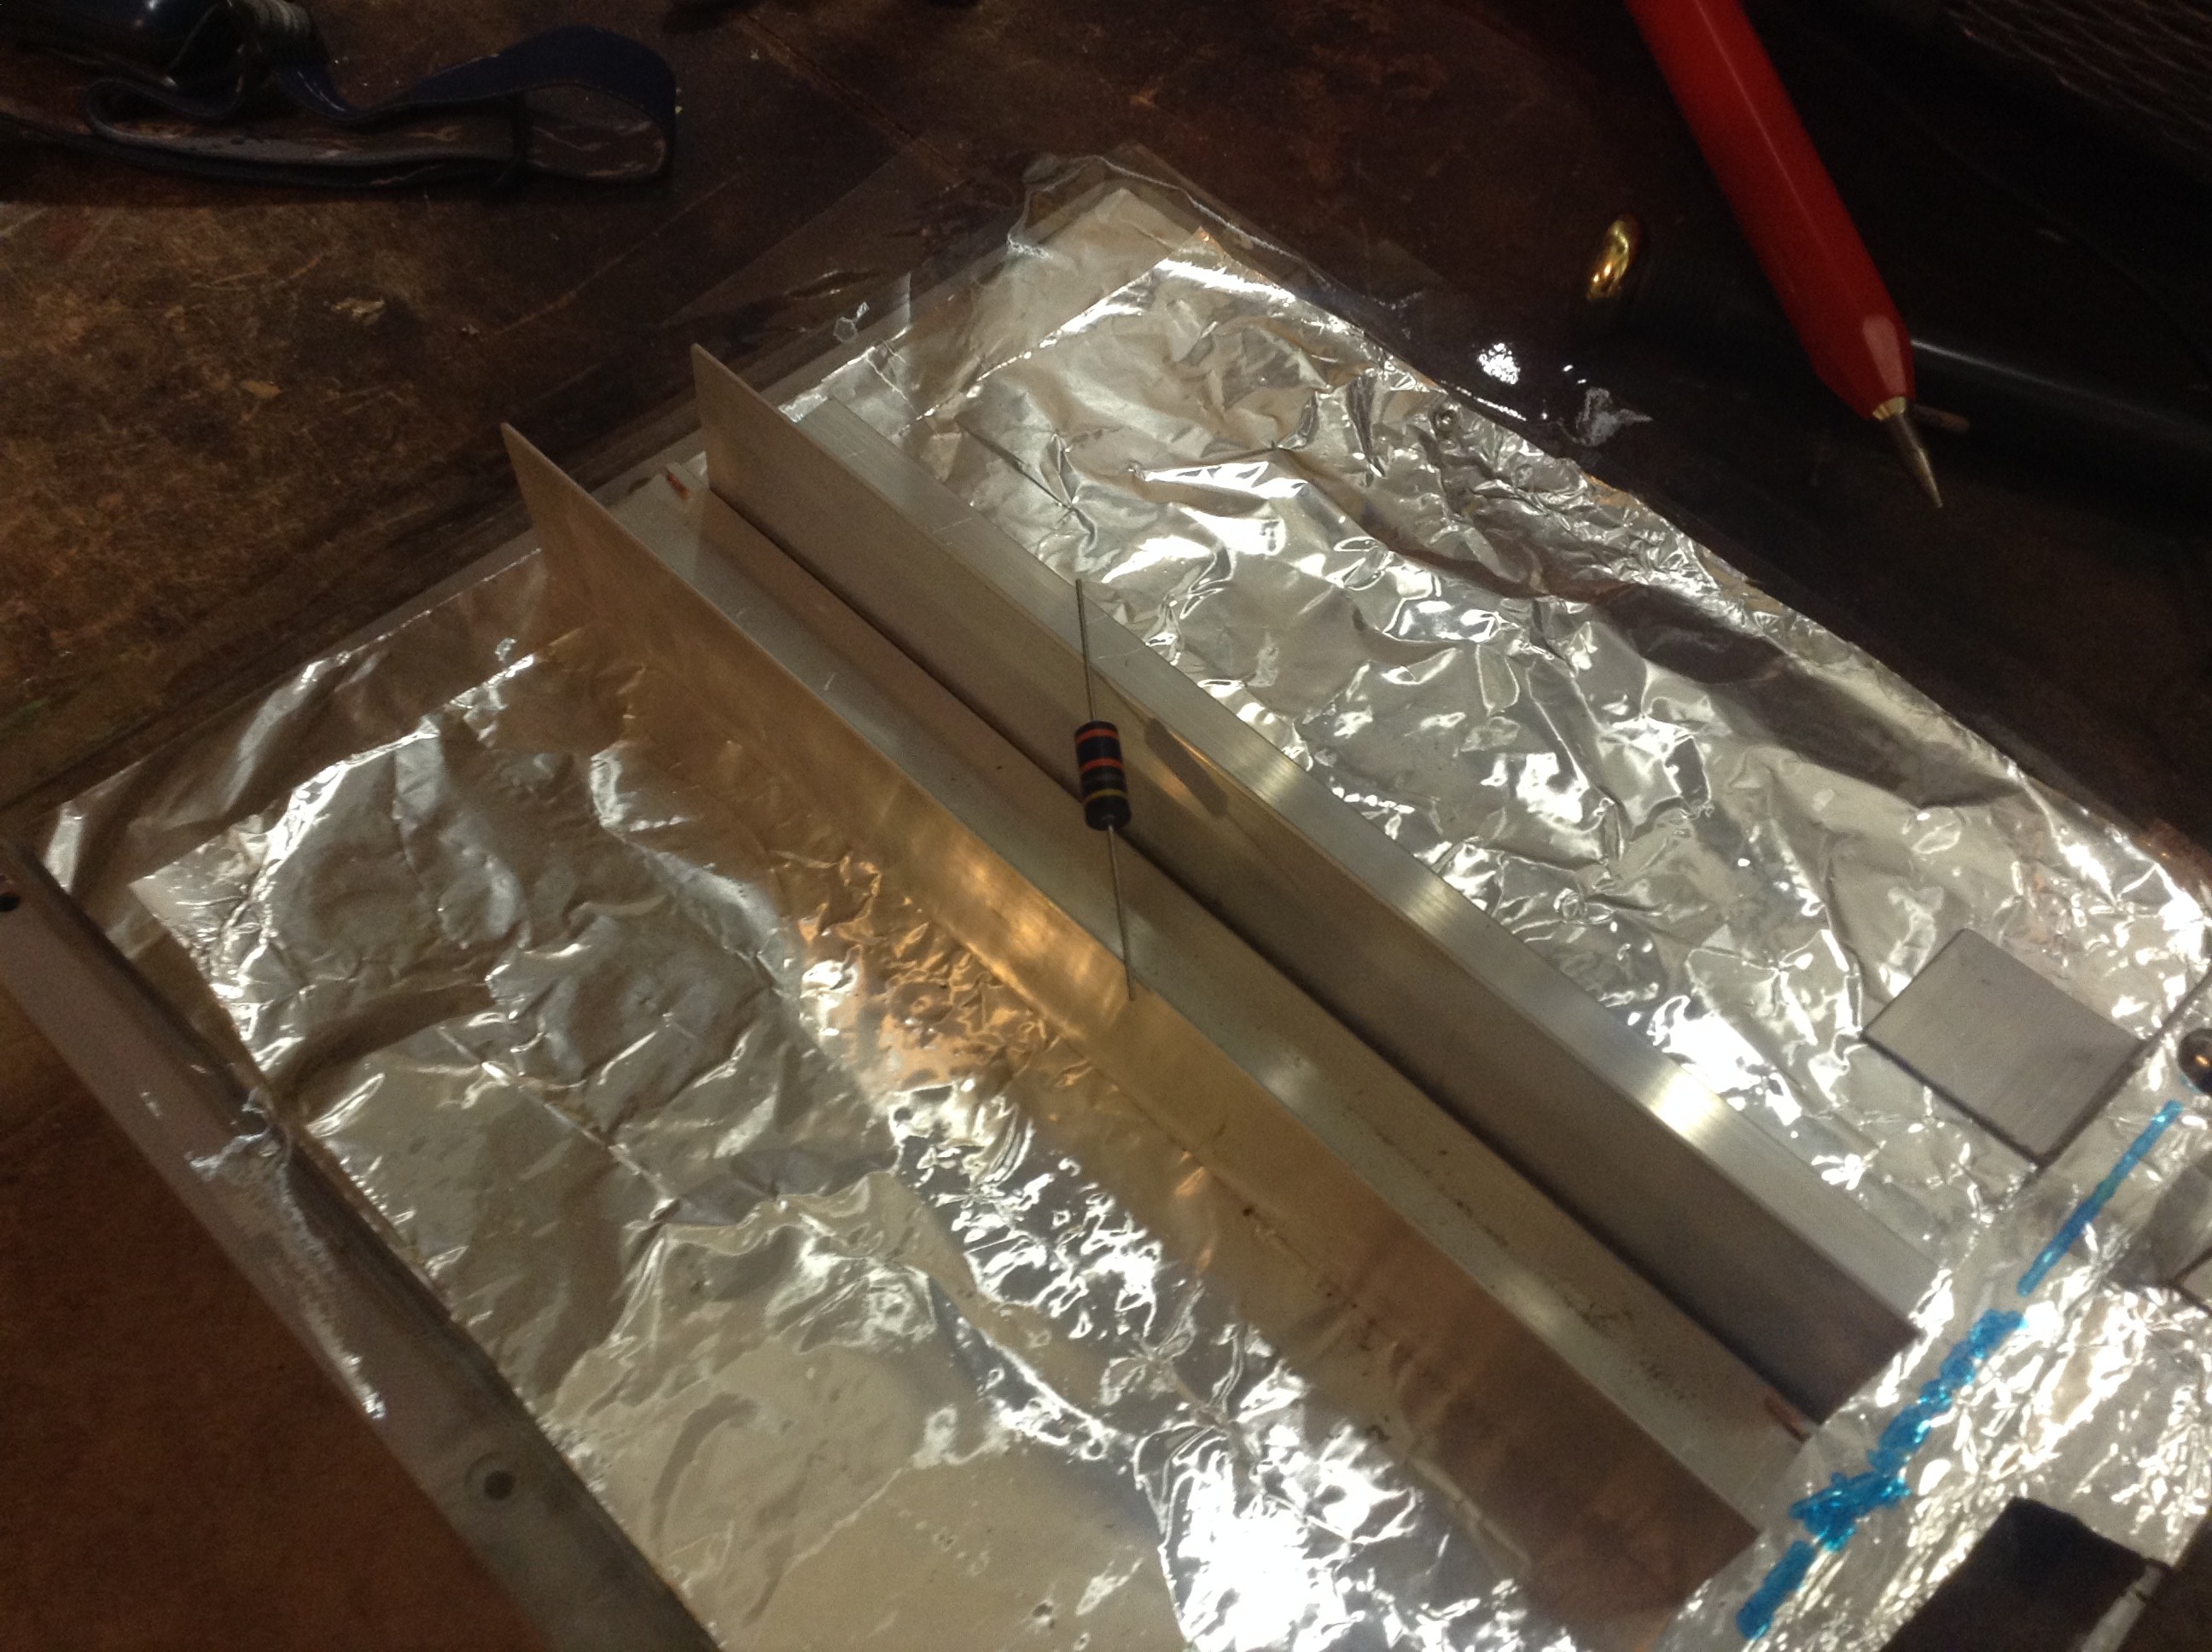
The spark gap is made of your two small angle pieces. Place on piece on the bottom foil tab protruding from under the plastic sheet. Place the other on top of the top aluminum sheet. The spark gap is between the cap bolt and the flat face of the other small piece of angle beam. Lastly, place the resistor across the top of the laser. It just needs to touch each of the electrodes as shown above. To add reliability, weigh the beams down on the aluminum plates using small rocks.
The power supply should be applied to each end of the spark gap pieces. The gap should be approximately 1/8″ so that the capacitors will charge to around 6,000 volts before firing. You can see the beam that is formed in the small lengthwise area between the electrodes and shines in the lengthwise direction from the electrodes. The beam is a momentary pulse that shines immediately following a spark gap firing.

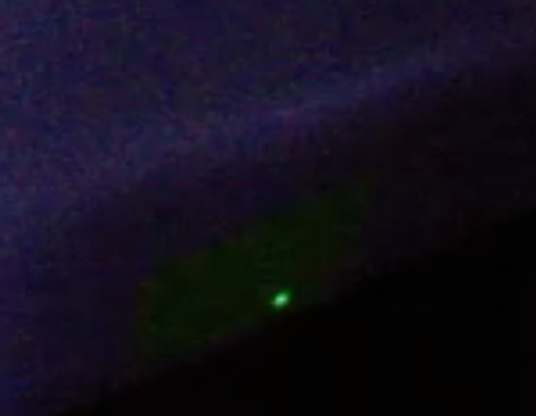
The beam consists of invisible ultraviolet light. To see it you need to place a material that fluoresces in ultraviolet. This is easy to do. Both highlighter ink and white paper will fluoresce in ultraviolet light. Paint a square on your white paper using your highlighter pen or simply place the white paper in the beam line. The above photos show the ultraviolet beam fluorescing green highlighter ink on the left and white paper on the right.
This is a Transversely Excited Atmospheric laser, or a T.E.A. laser. All lasers need a material, or medium, that “lases.” This means that a material, which can be a solid, liquid or gas, is “excited” by some energy such as a high voltage, and has the right properties to allow stimulated emission to produce laser light. It turns out that the lasing material for this laser is nitrogen. Remember that 78% of air is made of nitrogen. It need not be pure nor at some exotic high or low pressure for this to work. We know that the lasing material is nitrogen because the ultraviolet frequency emitted is associated with characteristics of the nitrogen atom.
Here is a video of the laser in operation. Turn your speakers down, the spark flash is loud…
Posted in Journal, Nuclear Fusion Reactor by Mark with comments disabled.